Contents
Like most stores, you would want to identify and group your customers on the basis of factors such as location, gender, age, loyalty, etc. so that you can improve sales by showing each group of customers what they want.
Targeting begins with understanding a product and who it applies best to. You could target discounts and offers to a particular group of customers as well as promote products to customers who have been regular visitors on your website.
Creating a custom audience list
A custom audience list can be constructed by using customer attributes and matching them against conditions. For example, an audience list called “all customers who have made at least 2 purchases” is based the number of orders placed by the customer i.e. number of orders greater than or equal to 2.
Here’s how you can create a custom audience list:
1. From the Alice Commerce admin navigate to Audience.
2. Click on the (+ Add Custom) button on the right side of the screen.

3. Enter a list name (eg: Customers who have made 3 purchases)
4. In the Condition Editor, click on the (+) button
- Choose the field you require (eg: Number of Orders)
- Choose the condition from the drop down menu (eg: atleast).
- Enter the value to compare against (eg: 2)

5. Click on Preview.
A list of your customers who have matched this criteria should show up in the Matched Customers section.
6. Click on Save.
Your custom audience list is ready for use in your campaigns. You can play around with other fields depending your campaign requirements.
Creating an audience list based on templates
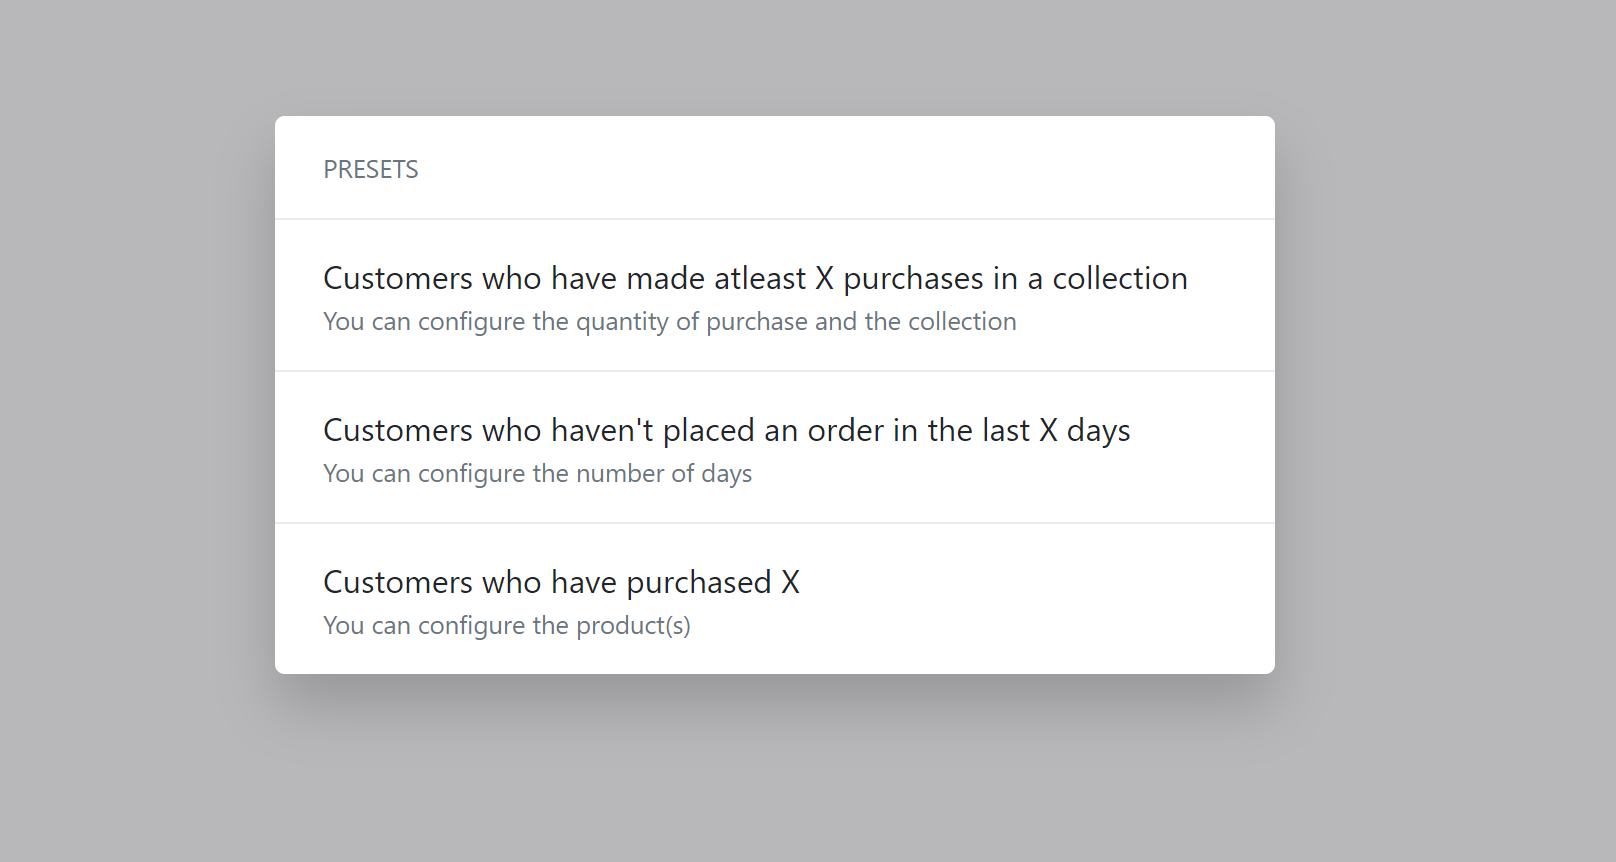
While the available customer attributes can only help you do so much, a few complex conditions can’t be achieved through the custom audience list builder. Hence, we have templates that help you fire up some commonly used conditions with placeholders that you can tweak to your own campaign needs.
1. From the Alice Commerce admin navigate to Audience.
2. Click on the (+ Add from Preset) button on the right side of the screen.

3. From the available presets, choose the condition applicable.

A new audience list would be created based on the template and available for you to edit.
4. In the Condition Editor section, fill in the placeholder values according to your requirement.

5. Click on Preview.
A list of your customers who have matched this criteria should show up in the Matched Customers section.
6. Click on Save.
Your custom audience list is ready for use in your campaigns. You can play around with other fields depending your campaign requirements.